DTR Template Generator

📄 User Guide: DTR Template Generator

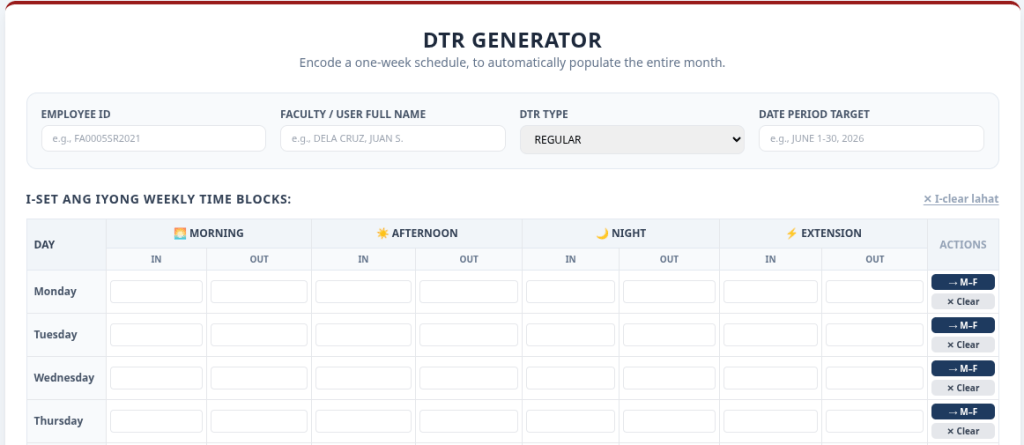
This system is designed to streamline and accelerate the Daily Time Record (DTR) encoding process for faculty and staff. By inputting just one week’s schedule pattern, the system automatically spreads the hours across the entire month, creates a dedicated folder in Google Drive, and exports ready-to-print Google Sheet and PDF copies.

📌 Step 1: Access the DTR Web Portal

  1. Open the provided Web App URL or click the “Generate DTR” button.

📌 Step 2: Encode Employee Metadata

Before inputting any time logs, completely fill out the four essential fields in the Metadata Row:

  1. Employee ID: Type your official ID (e.g., FA0005S2011). Note: This ID is strictly utilized by the system for structural folder naming in Google Drive.
  2. Faculty / User Full Name: Enter your full name using the Last Name, First Name format (e.g., Delos Santos, John).
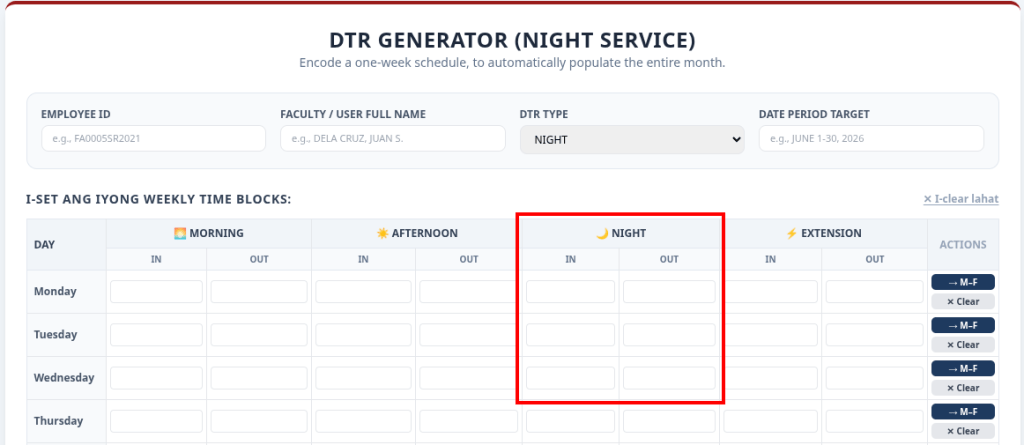
  3. DTR Type: Select from the dropdown menu whether the record is REGULAR, PART-TIME, Temporary Substitution, or includes (NSTP).
  4. Date Period Target: Type the covered month and year (e.g., June 1-30, 2026).

💡 Smart Feature Alert: While you are typing these details, the system runs an automatic background blur-check to see if you have an existing record saved for this period.

📌 Step 3: Fetch Existing Schedule (Optional but Recommended)

  • If you want to update an existing schedule or check if you have already submitted one, click the button: 🔍 FETCH EXISTING DTR SCHEDULE
  • If a record is found, the system will automatically populate the time blocks below and display your Google Sheet and PDF links at the bottom. If no record exists, a brief notification will let you know the system is ready for a new entry.

📌 Step 4: Input Weekly Time Blocks

This section defines your regular weekly schedule from Monday to Sunday.

  1. Enter Time Logs: Type your hours into the cells using any standard format (e.g., 8, 8:00, 1pm, or 13:00).
  2. Auto-Correction Engine: As soon as you move your cursor away from a cell (blur event), the system automatically formats it into the strict hh:mm AM/PM standard (e.g., 8 becomes 08:00 AM, 1pm becomes 01:00 PM).
  3. Quick Copy (→ M–F Button): If your schedule is identical from Monday to Friday, simply encode Monday’s hours and click the blue → M–F button at the end of the row. This automatically duplicates the schedule across Tuesday to Friday.
  4. Clearing Rows: If a day has no scheduled hours, leave it blank or click the ✕ Clear button.

📌 Step 5: Validate and Submit (Update / Generate)

  1. After reviewing all time logs, click the primary button at the bottom: 💾 GENERATE DTR MONTHLY SCHEDULE (or UPDATE DTR MONTHLY SCHEDULE if a record already exists).
  2. Strict Validation Engine: If any improper time formats were left uncorrected, the system will block the submission using a SweetAlert error pop-up, pointing out exactly which day and column require correction. Fix the errors and click the button again.
  3. Confirmation: A final prompt will ask you to confirm. Click “Yes, Proceed!”.

📌 Step 6: Retrieve Your Output Files

  1. A loading spinner will appear while the system updates the database, generates files, and organizes your cloud storage.
  2. Once successful, a green success banner will notify you.
  3. Scroll to the very bottom under 📄 DTR Output Files to access your links:
    • 🟢 View Google Sheet – Opens the live, individual spreadsheet copy.
    • 🔴 View PDF File – Opens a clean, professionally formatted PDF file ready for printing and signature.

Pages: 1 2 3

Design a site like this with WordPress.com
Get started